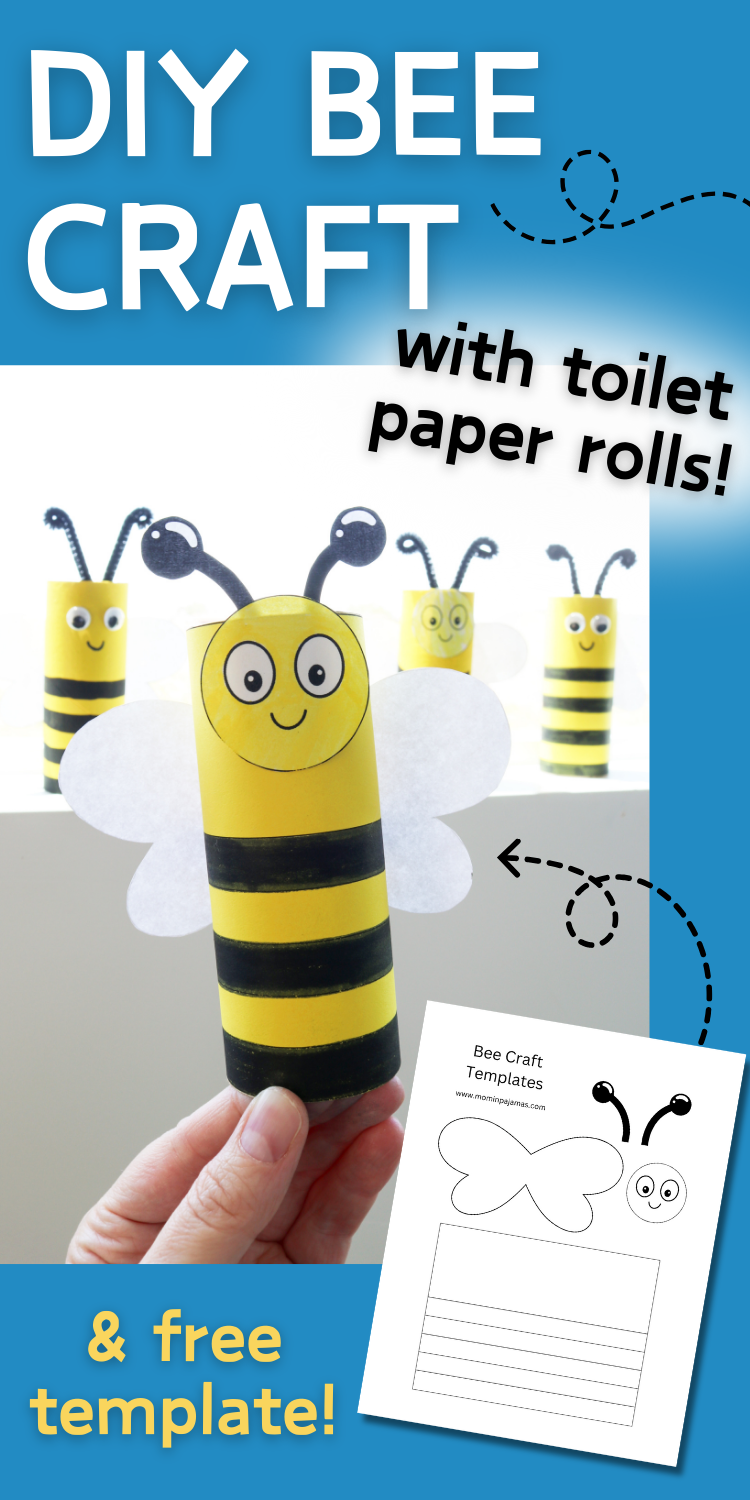
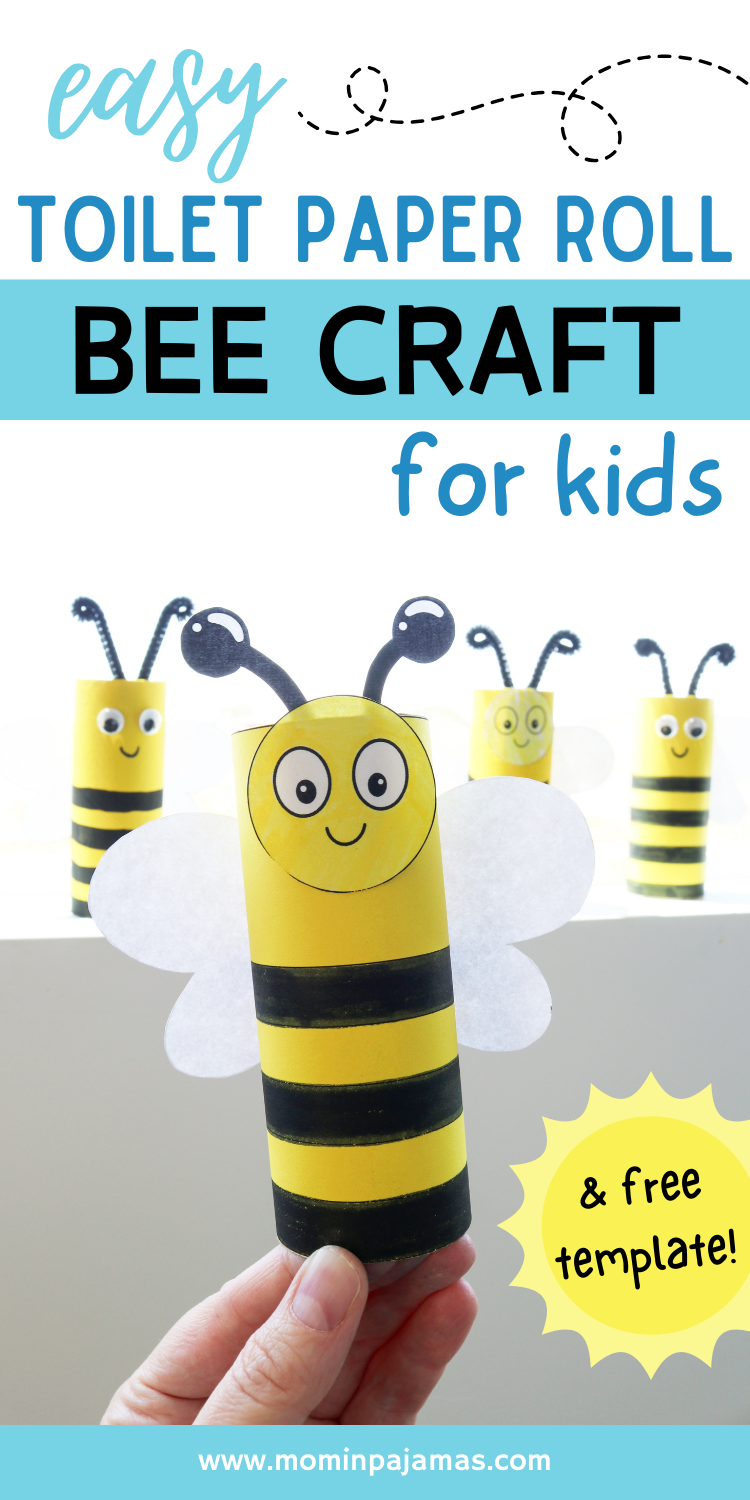
Easy Bee Toilet Paper Roll Craft for Kids
Turn an empty toilet paper tube into a cute bumblebee with this tutorial and free printable template! Fun and easy craft for kids!
The crafting possibilities with empty toilet paper rolls are endless. And they’re a free craft supply, making them perfect for kids crafts (since we know the craft is going to get destroyed in T minus 2 seconds anyway 🤣).
But while they last, these bees made out of toilet paper tubes are adorable! There are lots of ways you can adapt this, based on supplies you might already have on hand. And I’ve made a free printable template to make things even easier! Get the instructions and printable below!
This post contains affiliate links. For more information, see my disclosures here.
Supplies needed to make a toilet paper roll bee
Remember that there are different ways you could make these bees, so some supplies may be optional! But this is what we used:
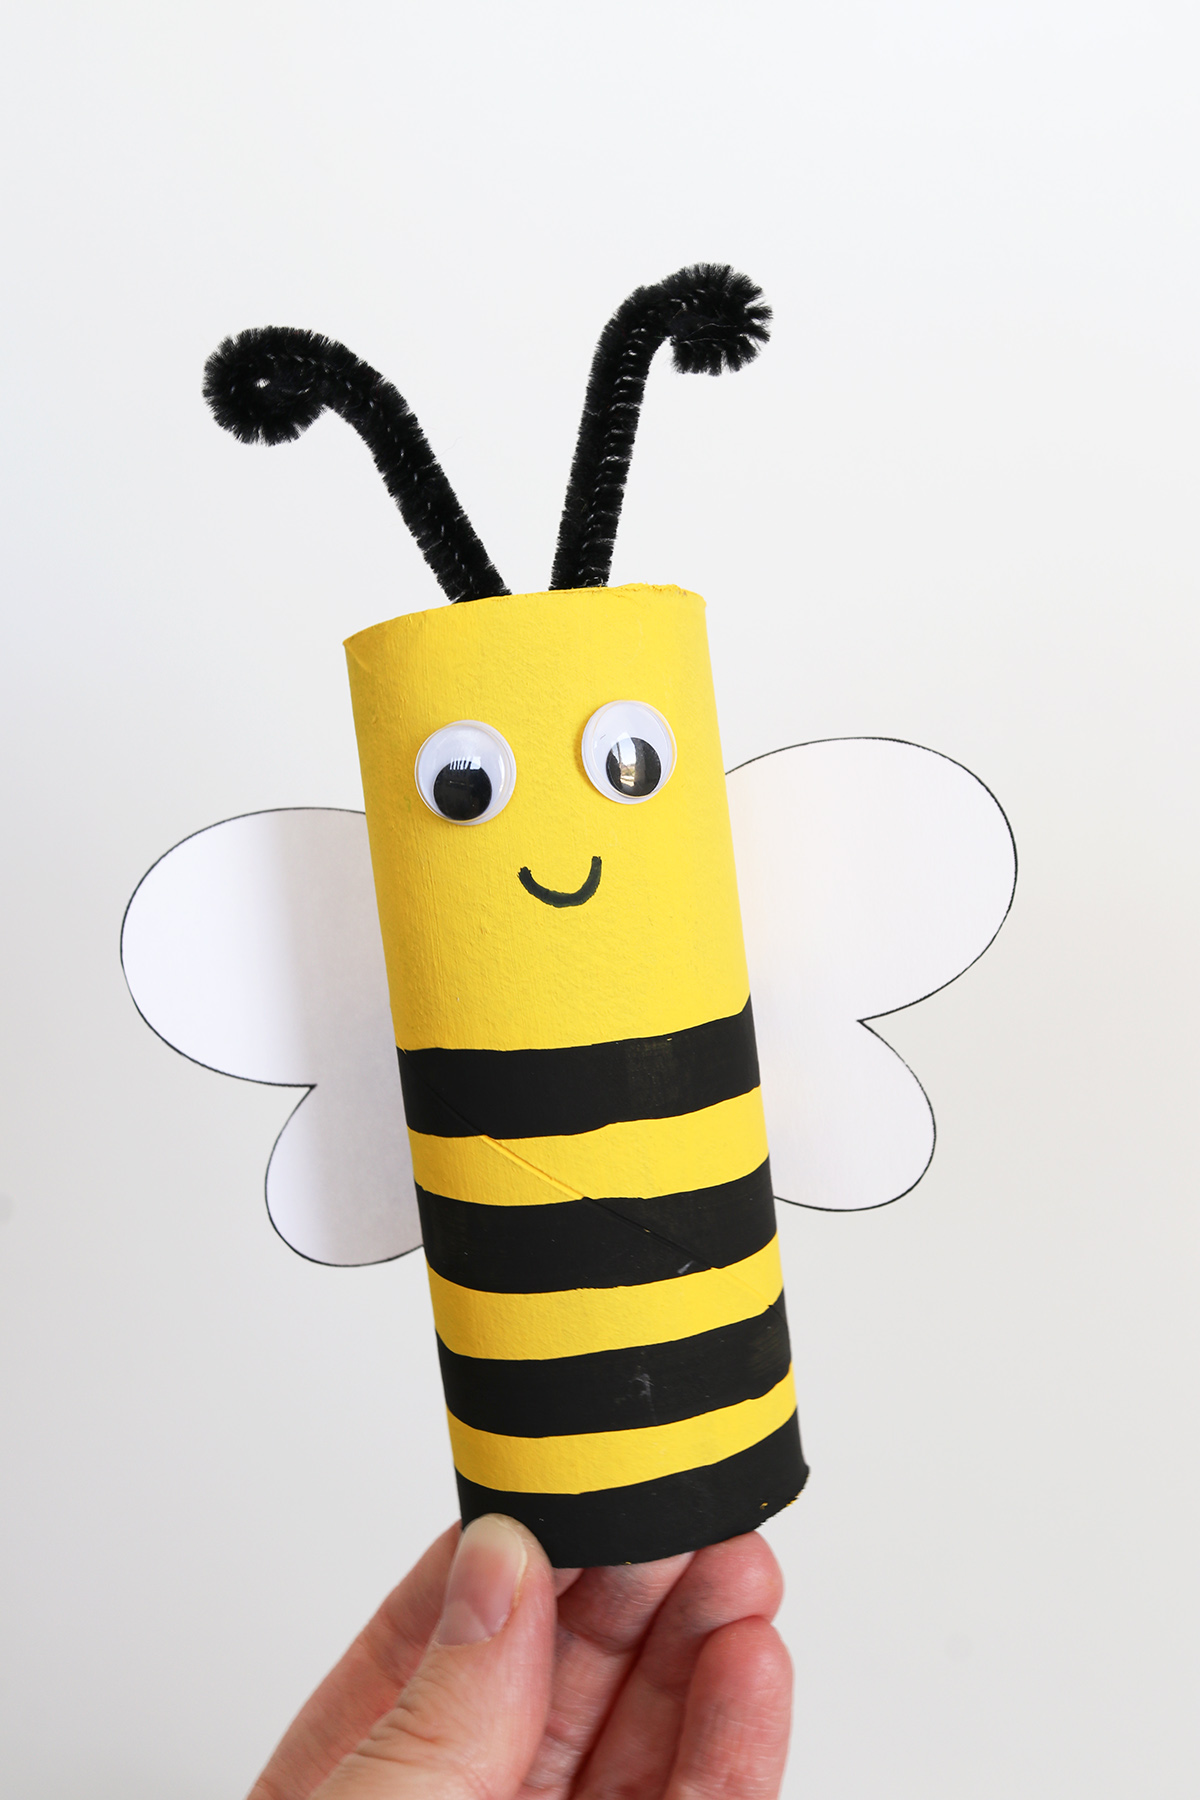
- empty toilet paper tube
- yellow and black paint
- paint brushes
- black pipe cleaner
- scissors
- glue stick
- hot glue gun
- wiggle googly eyes and glue dots
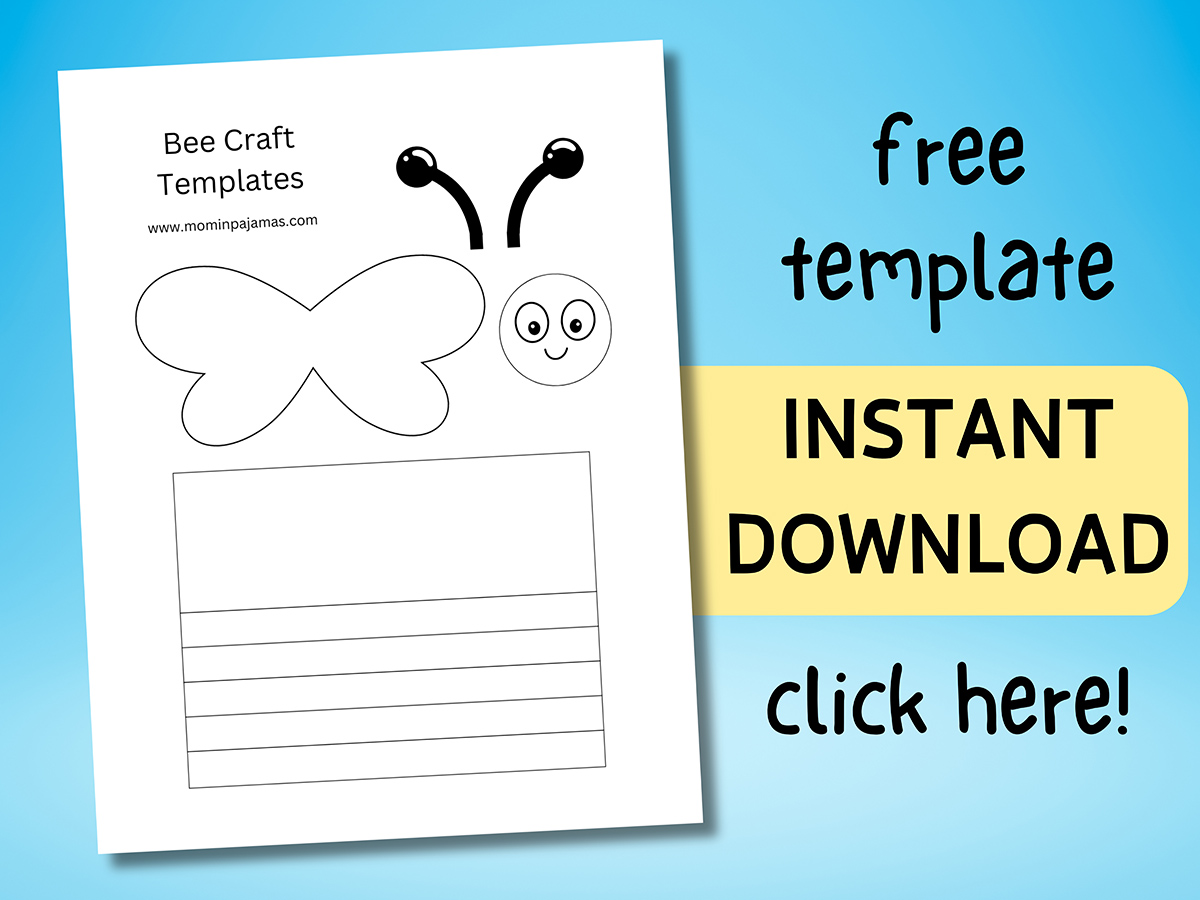
- printable bee template (download at the end of this post)
Who can make this bee toilet paper roll craft?
I made this craft with my 3 1/2 year old and he loved it! This bee craft is great for all ages of kids: toddlers, preschoolers, and older kids as well.
You’re welcome to use this craft tutorial and printable for your preschool class, kindergarten/elementary class, or church group too. It would be a great spring craft, activity when learning the letter B, or craft for an insect/bug unit.
How to make a toilet paper tube bee craft
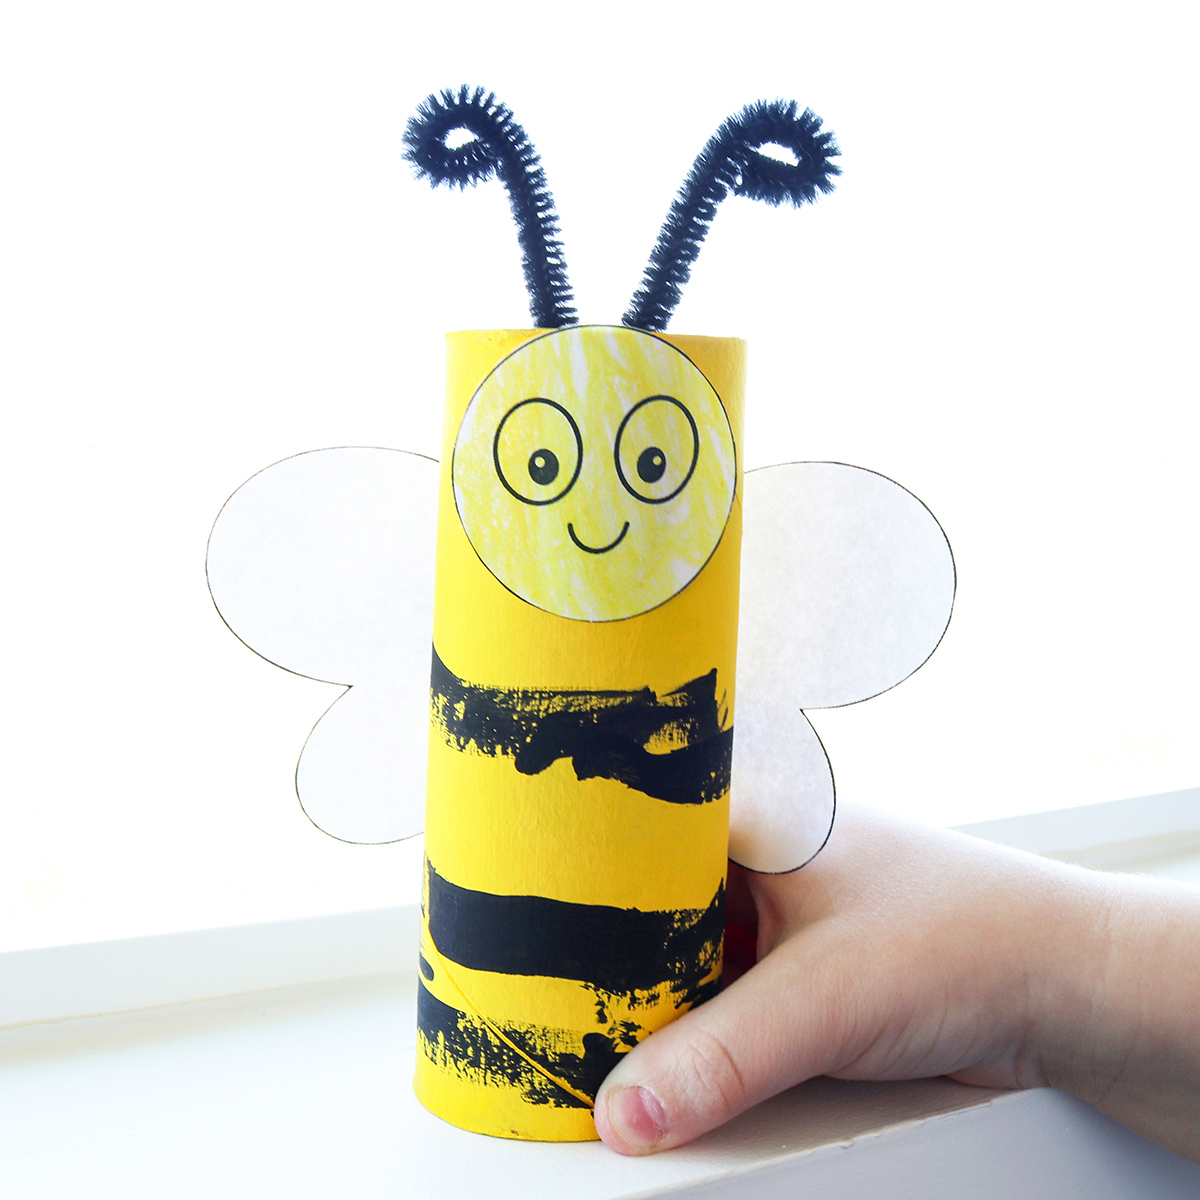
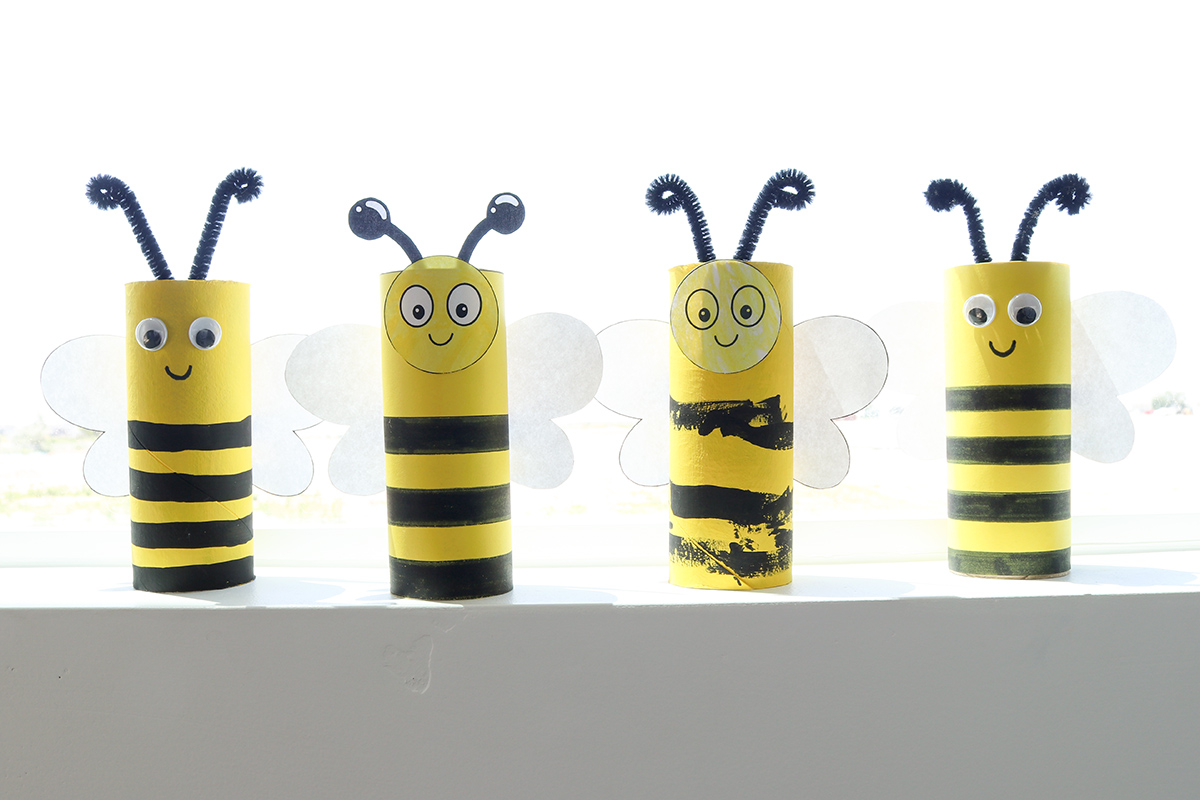
Step 1: Make the toilet paper tube yellow and add black stripes
You can use paint (like we did)–you’ll probably need at least two coats. Or you can print the template and color the rectangle yellow, cut it out, and glue it to the toilet paper roll. Or cut the template out of yellow paper and you won’t need to color it yellow at all (I’d print one template on white for the wings/face then a second one on yellow for the body).
Next, add black stripes with paint, crayon, or marker. I let my son paint black stripes on his bee. If you’re using the template, leave the top part of the rectangle yellow, then color in black stripes, alternating them so you end up with three black stripes. (Do this before gluing the rectangle to the toilet paper tube.)
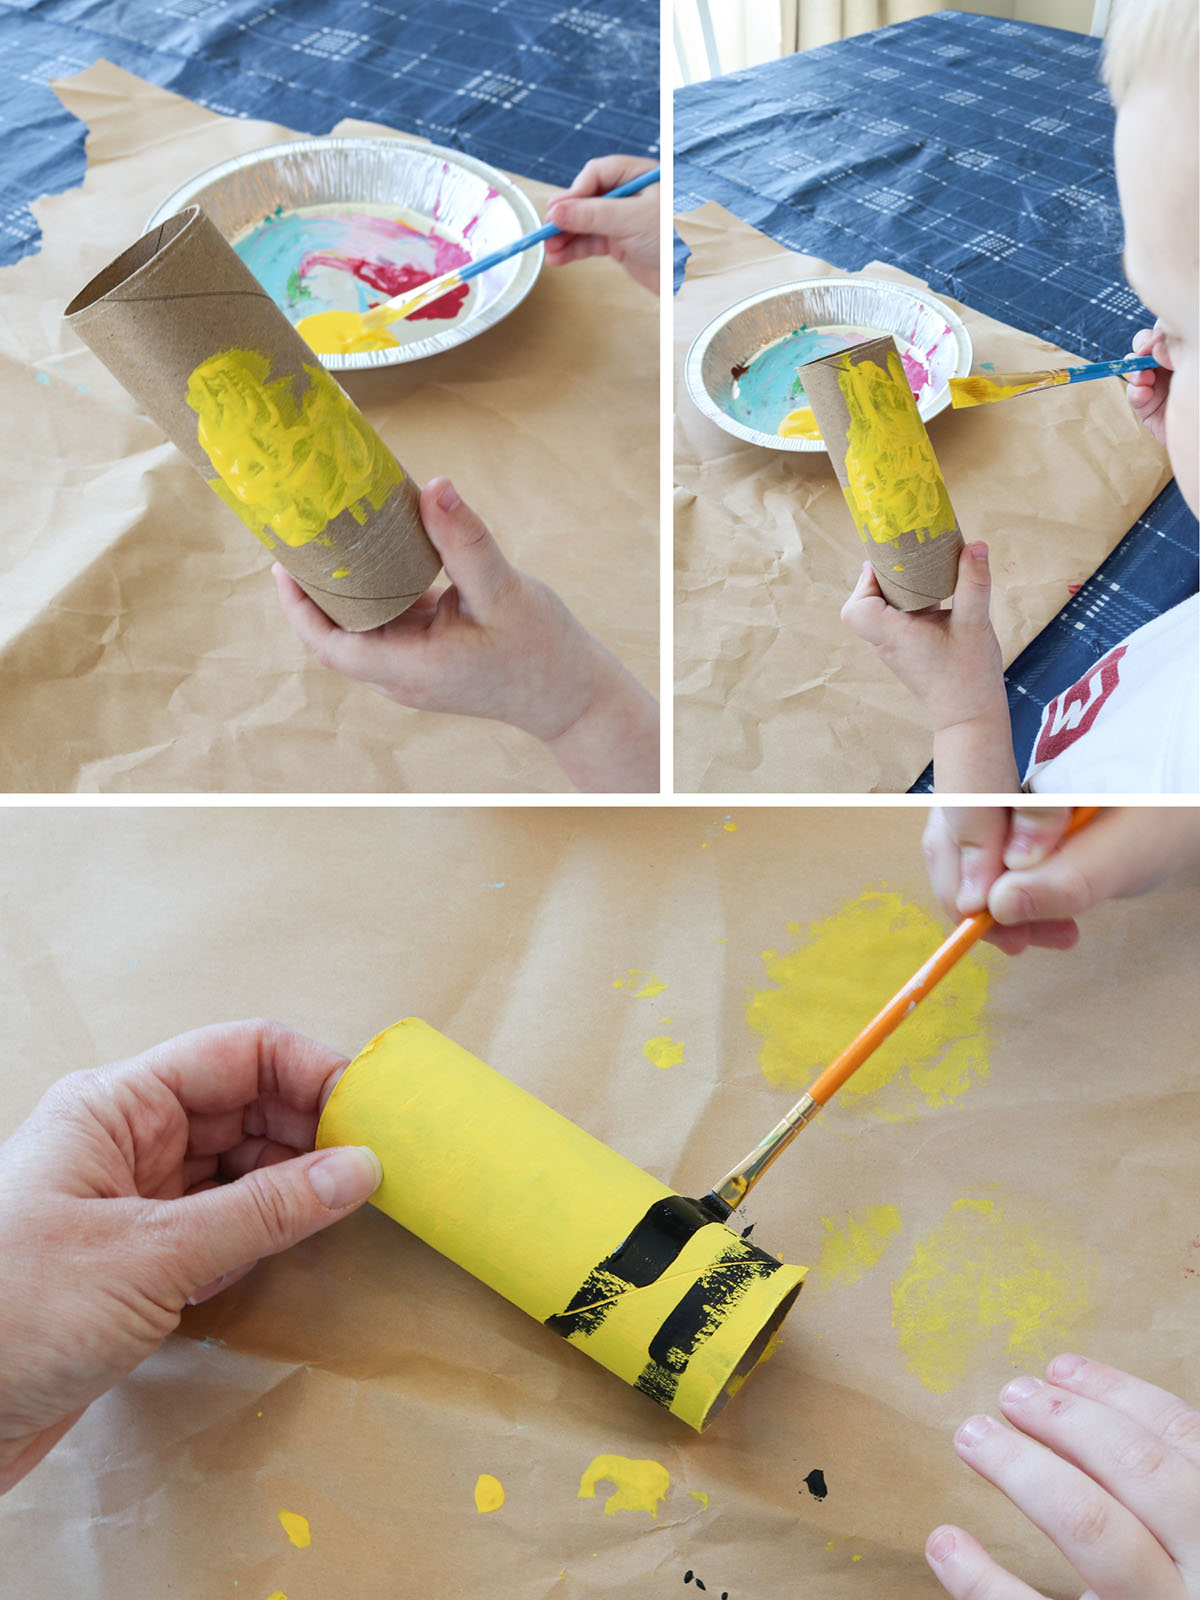
Let any paint dry completely.
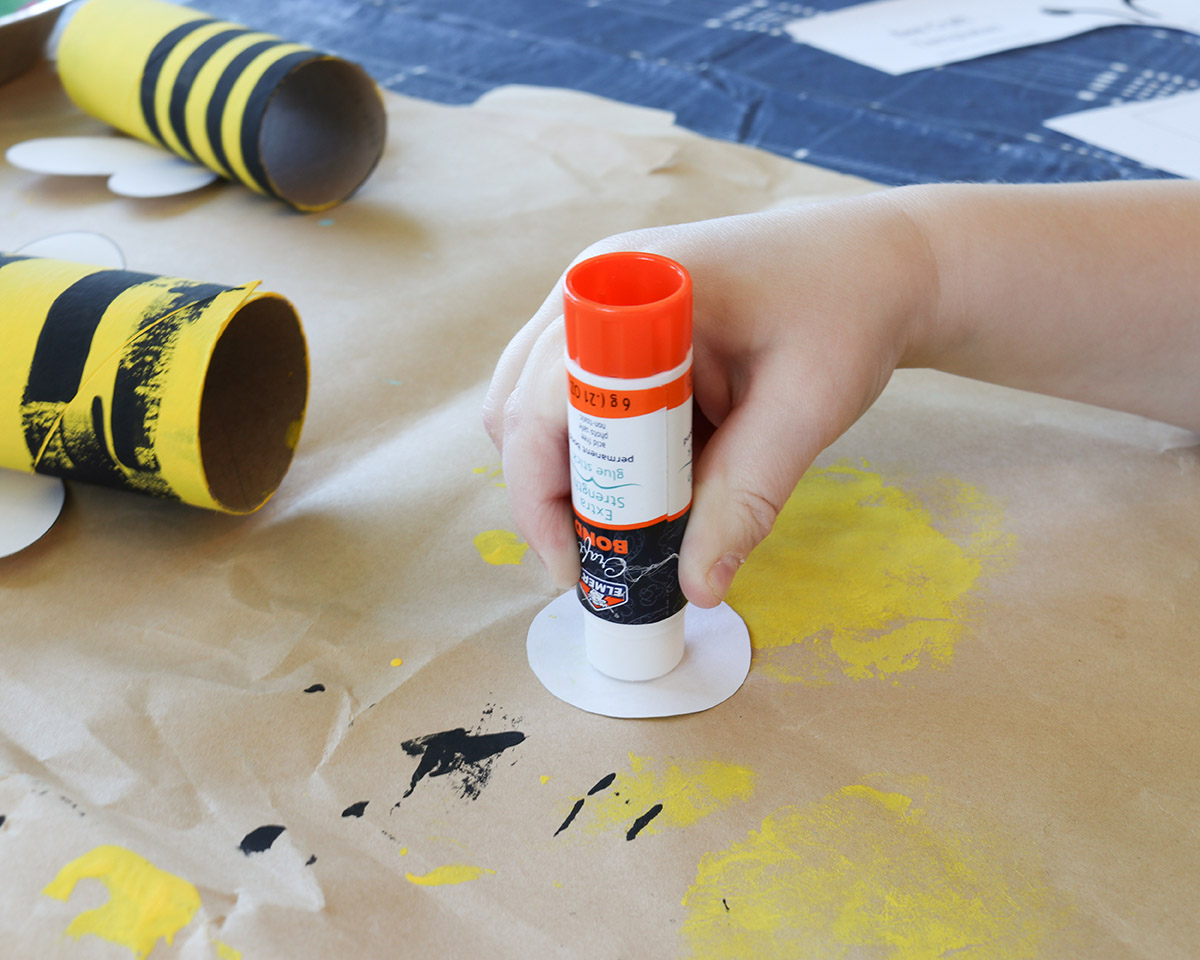
Step 2: Add a face
You can cut out and use the face from the template. Or you can hand-draw or paint a face on the toilet paper tube. Or you can glue on googly eyes, too! The easiest way to adhere googly eyes is with glue dots, but you could also use hot glue.
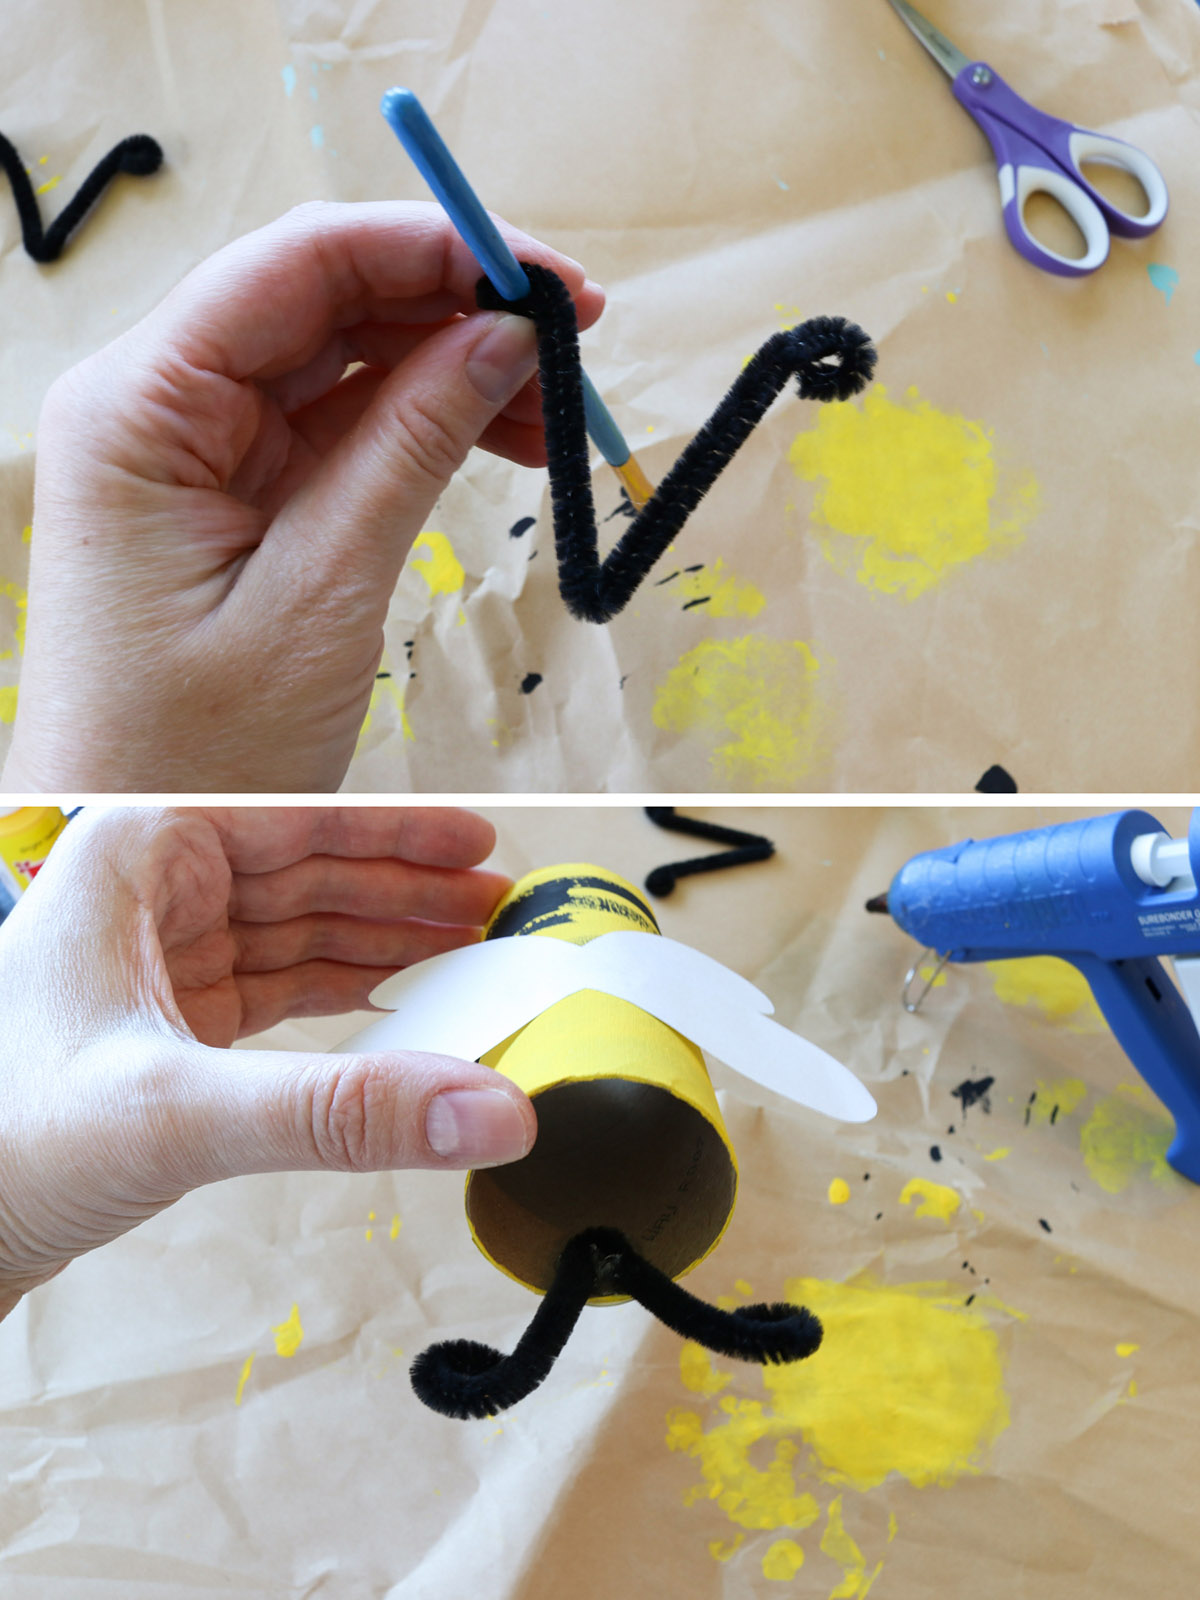
Step 3: Add wings
Cut the wings from the template. Add a little bit of glue with a glue stick in the center of the wings and adhere to the back of the bee.

Step 4: Add antennae
We used a pipe cleaner for the antennae–I believe we cut a 12″ pipe cleaner in half for each one. Then, just fold in a “V” and curl the ends around a pencil or paint brush. Glue to the inside of the toilet paper tube with hot glue (let an adult do this part). You can also cut and glue the antennae from the template.
And now your bees can buzz all around the house and yard! So much fun!
Download the free bee template printable
Note: This printable is for personal use only and may not be shared, sold, or distributed, in whole or in part. Please do not share this PDF file or the download link–they are for personal use only. Please share a link to this blog post instead!
Click the image or button below to get your free bee template:
DIY toilet paper bee craft for kids
I hope you have fun making bees with your child or class! Check back soon for more toilet paper roll kids craft ideas!

Pin and save for later!